Quick start
From empty scene to a working, saveable grid inventory. One menu command does the wiring; you write two lines of code.
1 · Spawn an inventory from the Create menu
With any scene open, run Window▸NullBolt▸Inventory System▸Create▸Grid Inventory in Scene. No window opens — the command immediately drops a fully wired 10×6 grid into the scene: Canvas and EventSystem if they're missing, an InventoryController with its GridUI, styled panel art, and five sample items so there's something to drag. The whole spawn is one Undo step — Ctrl+Z removes it cleanly.
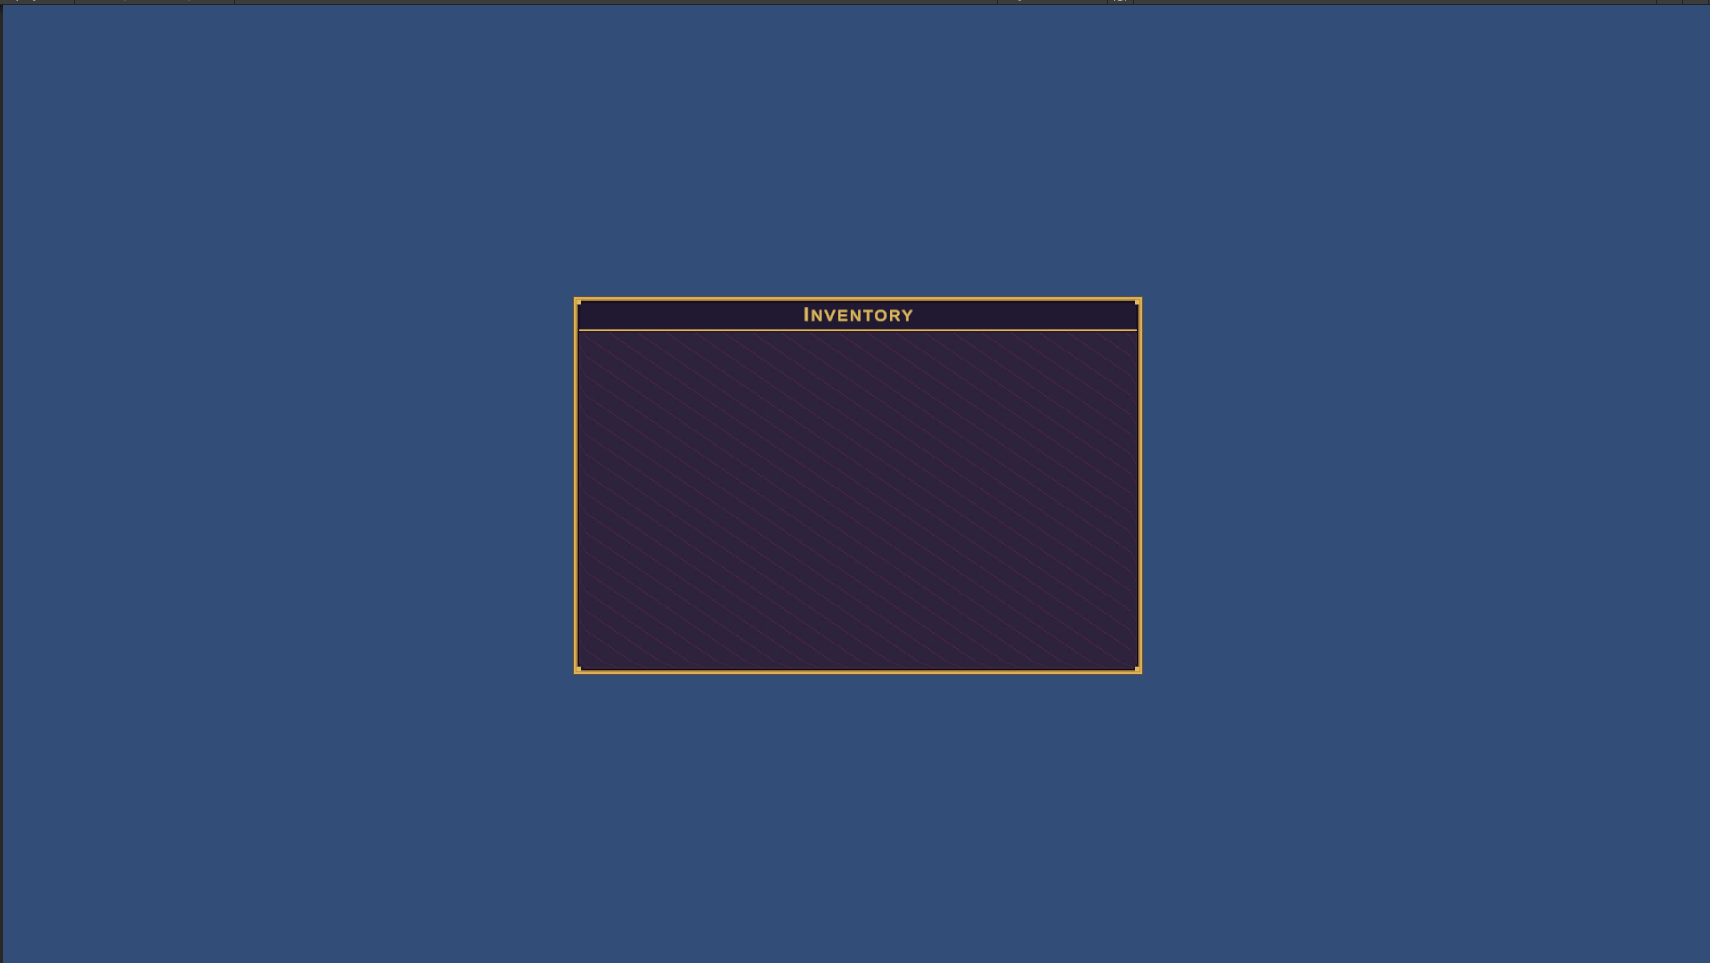
GridUI component to a RectTransform under your Canvas, add an InventoryController, assign the gridUI field, and set the grid's width and height in the inspector. The Create menu is just automation over those same steps.2 · Size the grid & pick a type
On the InventoryController inspector, set Grid Width × Grid Height (default 20×8), and choose an Inventory Type — Player, Shop, or Stash. The type drives right-click trading behavior and which folder saves land in. Drop any sample ItemData assets into the Starter Items list and they'll be placed on first initialize.
3 · Add an item from code
using UnityEngine;
using InventorySystem;

public class AddFirstItem : MonoBehaviour
{
    [SerializeField] private InventoryController inventory;
    [SerializeField] private ItemData sword;

    void Start()
    {
        // Auto-placement: finds the first free spot, tries rotated if needed.
        inventory.AddItem(sword);

        // Or place at an exact cell, rotated:
        inventory.AddItem(sword, new Vector2Int(4, 2), rotated: true);
    }
}
That's the whole loop — drag-and-drop, red/green placement preview, stacking, tooltips, and the stack-split dialog all work without another line of code. Sample items live under Assets/NullBolt/InventorySystem/Resources/Items/; creating your own takes one window (see Items & the Item Creator).
4 · React to changes
using UnityEngine;
using InventorySystem;

public class InventoryListener : MonoBehaviour
{
    [SerializeField] private InventoryController inventory;

    void OnEnable()
    {
        inventory.OnItemAdded   += item => Debug.Log($"+ {item.CustomName}");
        inventory.OnItemRemoved += item => Debug.Log($"- {item.CustomName}");
        inventory.OnInventoryChanged += () => { /* refresh weight bar, etc. */ };
    }
}
5 · Save and load
inventory.SaveInventory();   // → {persistentDataPath}/InventorySaves/Player/inventory_player.json
inventory.LoadInventory();   // restores items, stacks, rotation, condition, custom names
Saves are atomic (a corrupted write can't eat an older save) and keep a .bak backup. Details, auto-save, and custom file names are covered in Save & load.
ItemID and resolve them through Resources.LoadAll — so your ItemData assets must live under a Resources/ folder (the samples already do), and every item needs a unique ID. Using Addressables instead? Assign a custom ItemDataResolver — see Save & load.